Guide
Base Wallet Security With MetaMask and Hardware Devices
A familiar panic starts when someone says, “I only approved a small transaction on Base, but now my wallet looks wrong.” I have sat with people in that moment, and the first thing I tell them is simple: slow down, because a base wallet is only as safe as the device, recovery plan, and approvals behind it.
In short
- A base wallet should be treated as a self-custody wallet first and a layer-two access point second.
- For safer layer-two wallet security, I separate browsing, signing, recovery storage, and hardware device approval.
- To connect hardware wallet to Base through MetaMask, I verify the device screen before trusting anything shown in the browser.
- If a recovery phrase or hardware device backup is exposed, I move funds to a fresh wallet rather than trying to repair the old one.
Key facts
| MetaMask | |
|---|---|
| Supported coins & networks | Number of supported assets: Hundreds of thousands of tokens |
| Devices & platforms | Platforms: Chrome, Firefox, Brave, Edge, Opera, iOS, Android, Web |
| Price | — |
| Who controls the keys | — |
What should I know before using a base wallet?
I treat a base wallet as a self-custody wallet configured to use Base, not as a separate safety layer. Layer-two networks can make activity feel quick and routine, but that convenience can also make people approve prompts too fast.
MetaMask is often the wallet people use for this setup. MetaMask lists its supported assets as Hundreds of thousands of tokens, and its platforms as Chrome, Firefox, Brave, Edge, Opera, iOS, Android, Web. That broad reach is helpful, but it also means you need consistent habits across browser and mobile use.
Before you start, prepare:
- A clean device that you use for wallet activity, not random browsing.
- MetaMask obtained only from the official MetaMask website or the official app store for your device.
- A hardware wallet if you plan to keep larger balances or long-term holdings away from everyday signing.
- A written recovery plan stored offline, using a generic list of words created by your wallet, never a photo or cloud note.
- Time to test with a small amount before moving anything meaningful.
I also recommend reviewing the Hardware Wallet and Device Security Overview before connecting any wallet.
Warning: a wrong approval can lose funds even if your recovery phrase was never exposed. If a website asks for broad spending access, a rushed signature may give a drainer room to empty tokens later.
The safest mindset is separation. I use one wallet for routine Base activity, another for savings, and a hardware device for signing anything I would be upset to lose.
How do I set up and connect hardware wallet to Base?
Use this as a careful flow rather than a race. The goal is not just to make the wallet work; the goal is to make each trust decision visible.
Step one: secure the device first
Update the computer or phone through its normal system settings, remove browser extensions you do not use, and close tabs unrelated to wallet work. Wallet prompts are only trustworthy if the surrounding device is not noisy or suspicious.
If you use a separate browser profile for crypto, keep it plain. A profile with only MetaMask and your password manager is easier to reason about than one filled with shopping, games, and unknown add-ons.
Step two: create or open MetaMask carefully
Install MetaMask only from the official MetaMask source for your platform. When creating a wallet, write the recovery phrase offline and keep it away from cameras, screenshots, printers, and cloud storage. If you already have a MetaMask wallet, confirm that you still know where the recovery material is stored before you add networks or connect sites.
This matters because layer-two wallet security still depends on the same root secret. Base does not rescue a wallet whose recovery phrase was exposed elsewhere.
Step three: add or select Base inside MetaMask
Use MetaMask’s built-in network options or trusted in-app prompts where available. Do not copy network settings from random posts or messages. If a site pressures you to add a network before you understand why, stop and verify through official Base or MetaMask resources by name.
Step four: connect the hardware wallet
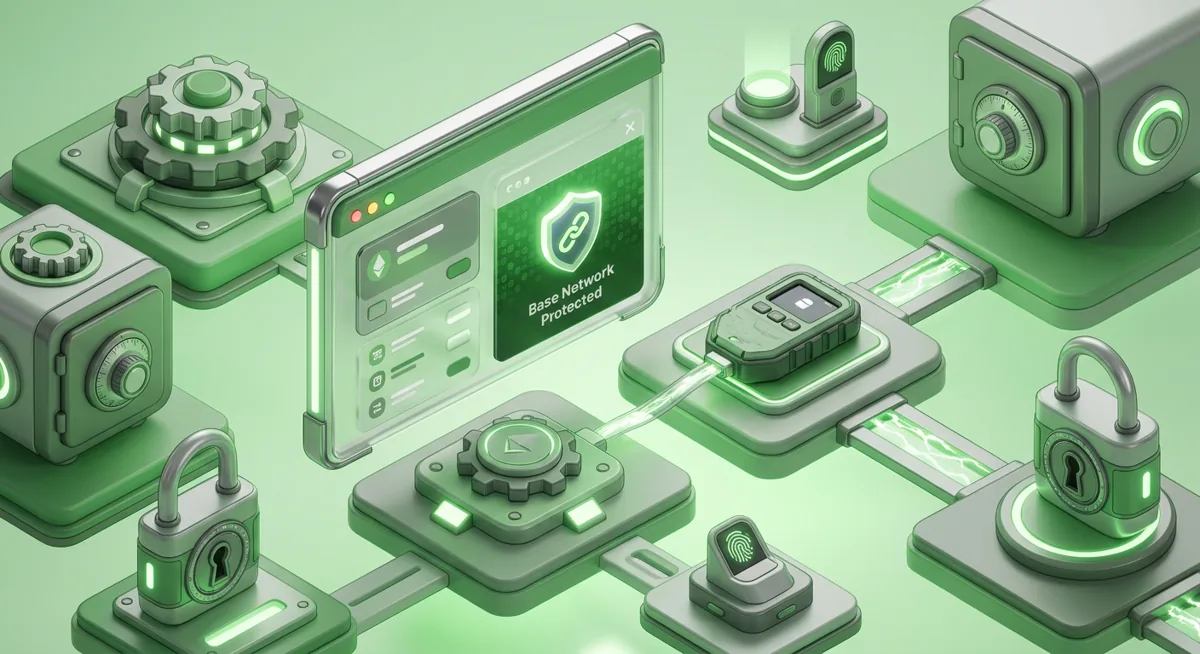
Open MetaMask, choose the hardware wallet connection option, and follow the on-screen pairing flow for your device. I keep the hardware wallet in my hand during this step because the device screen is the source of truth. The browser can summarize; the hardware device should confirm.
When MetaMask shows accounts from the hardware wallet, label them clearly by purpose, such as savings, testing, or Base activity. Good labels reduce the chance of signing from the wrong account when you are tired.
Step five: test with a small action
Before sending meaningful funds, receive a small amount, then make a low-risk interaction you understand. The point is to learn the exact prompts you will see. If the hardware device shows a contract interaction when you expected a simple transfer, pause.
I tell people to ask, “What am I giving permission to do?” If the answer is vague, do not sign.
Step six: separate approvals from storage
Keep day-to-day dapp approvals in a limited wallet. Keep long-term holdings in a hardware-backed account that rarely connects to websites. For a deeper self-custody routine, I would pair this with the Key management checklist for safer self-custody.
How does recovery work for a base wallet?
Recovery does not happen on Base itself. Recovery usually depends on the wallet’s recovery phrase, hardware device backup, or account setup. That phrase is a list of words generated by the wallet. I never type it into websites, support chats, forms, or messages, and I never store it where an online account can sync it.
If MetaMask is used as a hot wallet, its recovery phrase can restore the same wallet in a fresh MetaMask installation. If you connect a hardware wallet to MetaMask, the hardware wallet has its own recovery material. MetaMask is then acting as an interface, while the hardware device controls signing for those hardware accounts.
This distinction matters. If someone loses access to MetaMask but still has the hardware wallet and its backup, the hardware-backed accounts can usually be restored through the hardware wallet process. If someone loses the hardware wallet and the backup, MetaMask cannot recreate those accounts by magic.
I plan recovery around real-life stress. What if your phone falls in water? What if your laptop is stolen? What if a family member needs to find instructions without seeing the actual recovery words?
Keep recovery material offline, private, and physically protected. Consider splitting access instructions from the actual recovery material, so a thief who finds one item cannot immediately use it. For longer-term storage planning, see Cold Storage Best Practices for Safer Recovery.
If you believe a recovery phrase, hardware backup, or signing secret was exposed, do not spend days hoping it will be fine. Create a fresh wallet on a clean device, verify the new recovery plan, then move assets you still control.
What should I check when something goes wrong?
MetaMask does not show Base
First, confirm you are using the real MetaMask app or extension from the official source. Then look for Base through MetaMask’s network controls or official Base guidance by name. Avoid copying settings from direct messages, pop-ups, or social comments.
The hardware wallet will not connect
Check the simple things before assuming the wallet is broken: cable, browser permission, locked device, and whether another wallet app is already using the device connection. I also restart the browser because stale connection sessions can confuse MetaMask.
The address in MetaMask looks unfamiliar
Stop before sending funds. Hardware wallets can show multiple accounts, and choosing a different account path may show an address you did not expect. Compare against a previously saved address from your own records, not from a message someone just sent you.
A site asks for a signature I do not understand
Reject it. Then read the prompt again and ask what the signature allows. If it sounds like broad token access or account control, do not continue. A legitimate service should not need you to rush.
Tokens are missing after switching networks
This can be a display issue, a network selection issue, or a token import issue. Do not re-enter your recovery phrase to “refresh” a wallet. Instead, confirm the selected account, confirm the selected network, and check whether the token needs to be displayed manually inside MetaMask.
I think I approved something dangerous
Disconnect the site, review approvals using a trusted approval-management route you already know, and move high-value assets out of the exposed wallet if needed. If there is any chance the recovery phrase was exposed, treat the wallet as unsafe for future storage.
For background concepts, I would also read Wallet Basics for Safer Crypto Storage. The more you understand the roles of wallet, network, and signer, the harder it is for a scam prompt to rush you.
Questions and answers
- Is a base wallet different from MetaMask?
A base wallet is usually a wallet configured to use Base. MetaMask can be the wallet interface, while Base is the network you are using.
- Should I use a hardware wallet for Base?
I prefer a hardware wallet for funds I would not want to lose. For small routine activity, a separate hot wallet can reduce how often your storage account touches websites.
- Can MetaMask recover my hardware wallet account?
MetaMask can show and help use a hardware wallet account, but the hardware wallet recovery material controls recovery for that account. Keep that backup offline and protected.
- What is the biggest layer-two wallet security mistake?
The biggest mistake I see is treating fast, cheap activity as low risk. A bad approval can still expose tokens, so I verify every signature before approving it.