Guide
Trezor Safe 3 Setup: Firmware, Backup and Recovery
You unbox your Trezor Safe 3, plug it in, and the first screen asks you to make security choices. I want you to slow down, because the first setup is when many people are most likely to rush past the protections they bought the device for.
In short
- Use the official Trezor website for setup software, check device prompts on the Trezor Safe 3 screen, and avoid entering recovery words on a computer or phone.
- A secure backup is a private list of words that restores wallet access if the device is lost, damaged, wiped, or replaced.
- Trezor Safe 3 supports 1000s of coins & tokens, and you should still verify each coin or token address on the device before sending funds.
- Trezor recovery should be practiced only through trusted device flows, never through pop-ups, support chats, forms, or screenshots.
Key facts
| Trezor Safe 3 | |
|---|---|
| Supported coins & networks | Number of supported assets: 1000s of coins & tokens |
| Devices & platforms | Platforms: Android (full compatibility); iOS (limited compatibility) |
| Price | — |
| Who controls the keys | Key custody: SLIP39 backups |
What should you prepare before Trezor setup?
Start with the risk in plain words: if someone gets your backup, they can move your funds without needing your Trezor Safe 3. If you lose your backup and the device stops working, you may lose access yourself.
Before you begin, prepare:
- Your unopened Trezor Safe 3 and its cable.
- A computer or supported phone you already trust.
- Trezor Suite obtained from the official Trezor website by name, not from ads, messages, or file-sharing pages.
- A private place where no camera, microphone, shared screen, or visitor can see the backup.
- Paper or another durable offline backup material.
- Enough quiet time that you will not rush through warnings.
Trezor Safe 3 platform support is Android (full compatibility); iOS (limited compatibility). If you are using a phone, treat it as a convenience screen, not as the place where secrets belong. Recovery words belong offline.
Close browser tabs you do not need, stop screen sharing, and make sure no remote support app is active. If a stranger is guiding you through setup in a chat, pause. Real support should not need your recovery words.
For broader background, see Hardware wallets: safer self-custody basics and Wallet Basics for Safer Crypto Storage.
Warning: the backup is not a password reset tool. It is the wallet. If a page, support agent, browser pop-up, or app asks you to type the backup into anything other than a trusted recovery flow on your hardware wallet, stop immediately.
How do I set up a Trezor Safe 3 safely?
Step one: Inspect the device and setup path
Open the package in a calm place. If anything looks tampered with, do not initialize the device with real funds. Go to the official Trezor website by name and use the official setup path. I avoid search ads for wallet setup because attackers often buy convincing ads around popular product names.
Step two: Connect the Trezor Safe 3
Connect the device only when you are ready to follow the prompts. Trust the Trezor screen for security decisions, not just the computer screen. Malware can imitate a wallet interface, but the hardware wallet screen is your final checkpoint.
Step three: Install or confirm Trezor firmware
Firmware is the device software that controls wallet behavior. Read the prompts slowly. If the screen shows an unexpected warning, or the computer asks you to approve something the device does not also show, pause and restart from the official path.
I make sure the cable is stable, the computer is awake, and I am not multitasking. A firmware update is not the moment to experiment with browser extensions, unknown apps, or remote help.
Step four: Create a new wallet on the device
Choose to create a new wallet if this is your first setup and you are not restoring an existing wallet. The Trezor Safe 3 will guide you through generating the wallet.
Trezor Safe 3 key custody includes SLIP39 backups. Treat any backup style as highly sensitive. Whether your backup is one list or a more advanced structure, keep it offline, private, and recoverable by you.
Step five: Write the backup offline
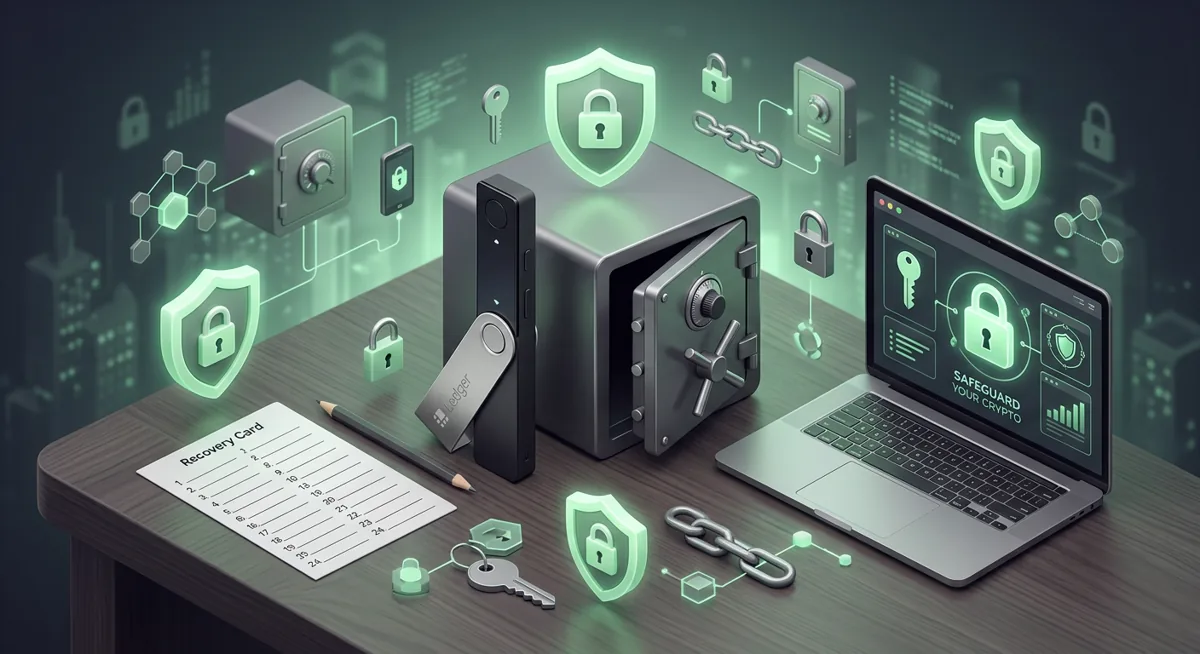
Write the recovery backup exactly as the device instructs. Do not photograph it. Do not save it in cloud notes. For most people I help after wallet-drainer incidents, offline storage is the safer default.
Check spelling and order carefully. If the device asks you to verify the backup, treat that as a protective drill. A single mistake can make future recovery fail.
Step six: Set a PIN and optional passphrase only if you can manage it
Set a PIN you can remember but others cannot guess from your life. If you use a passphrase feature, understand that it can create a separate wallet view. That can protect privacy, but it can also lock you out if you forget the exact wording.
Step seven: Verify receive addresses on the device
When you receive crypto, compare the address in Trezor Suite with the address on the Trezor Safe 3 screen. Confirm on the device only after checking. This matters because clipboard-changing malware can swap an address on your computer.
Trezor Safe 3 supports 1000s of coins & tokens, but support does not remove the need to verify the asset, network, and address. Sending the right coin on the wrong network can still create a recovery problem.
Step eight: Send a small test before moving larger balances
I like test transactions because they reveal mistakes while the stakes are lower. Send a small amount, wait until it arrives where expected, then continue.
For a broader storage routine, pair this setup with the Key management checklist for safer self-custody.
How does Trezor recovery work in general?
Trezor recovery restores wallet access from your backup if the device is lost, damaged, wiped, or replaced. The backup is usually a list of words or a structured backup method shown during setup. I will not provide sample words, because real recovery words should only come from your own device during setup or from your own existing backup during recovery.
The device is replaceable, but the backup is the root of access. If your Trezor Safe 3 falls into water, the backup can let you restore access on a compatible trusted wallet. If someone else gets the backup, they may not need the physical device.
Store the backup where it is protected from casual discovery, fire risk, water damage, and rushed cleanup. Do not label it in a way that says “crypto wallet” to every person who opens a drawer, but do not hide it so cleverly that your future self cannot find it.
If you are helping a family member, do not ask them to send you a photo of the backup. Explain the risk, then let them write and store it privately.
Before storing meaningful funds, some users choose to reset and restore an empty or low-value wallet to confirm they wrote the backup correctly. If your backup may already be exposed, create a new wallet from a fresh backup and move funds after careful address verification. For a deeper emergency checklist, see Lost Seed or Exposed Keys: Cold Wallet Crypto Checklist.
What if something goes wrong during setup or recovery?
The device is not recognized
Try a different cable, port, or trusted computer. Avoid public computers and shared office machines. If a browser extension suddenly offers to “fix” the issue, do not give it wallet permissions or secret information.
Firmware setup feels unusual
Stop and compare what the computer says with what the Trezor Safe 3 screen says. If the device screen is blank, mismatched, or asking for something you do not understand, disconnect and restart from the official Trezor website by name.
You wrote the backup but are not sure it is correct
Do not add funds yet. Use the built-in verification flow if available, or perform a careful recovery test while the wallet is empty or holding only a tiny amount. The point is to find writing mistakes before the backup is your only way back in.
You entered recovery words on a website
Assume the wallet is exposed. Create a new wallet with a fresh backup on a trusted device, then move assets after verifying addresses on the hardware wallet screen. If you need a calmer checklist first, see Crypto Home Security Checklist: Virus Checker Basics.
You restored the wallet but balances look missing
Check that you used the correct backup, wallet type, passphrase choice, asset, and network. A passphrase difference can make a wallet look empty even when the backup is correct. Do not keep trying random passphrases in a panic; write down what you know and proceed methodically.
You are comparing hardware wallet options
If you are still deciding where Trezor Safe 3 fits, compare custody model, recovery design, supported assets, and your comfort with the setup flow. You can also read Ledger vs Trezor vs Tangem: Hardware Wallet Crypto Guide.
My final rule is simple: any setup or recovery process that creates urgency, secrecy, or a request for your backup outside the device flow is not acting in your interest.
Questions and answers
- Is Trezor Safe 3 good for secure backup?
It can be part of a strong secure backup routine if you keep the recovery backup offline, private, and tested. The device supports SLIP39 backups, but the human handling still matters most.
- Can I set up Trezor Safe 3 on a phone?
Trezor Safe 3 platform support is Android (full compatibility); iOS (limited compatibility). Even when using a phone, I would keep recovery words off the phone and verify important actions on the device screen.
- Should I update Trezor firmware before using the wallet?
Follow the official Trezor setup flow and read every firmware prompt on the device. If the computer and device show different expectations, pause before approving anything.
- What should I do if I lost my recovery backup?
If the wallet is still accessible, create a new wallet with a fresh backup and move funds after verifying addresses. If the device is gone and the backup is lost, recovery may not be possible.